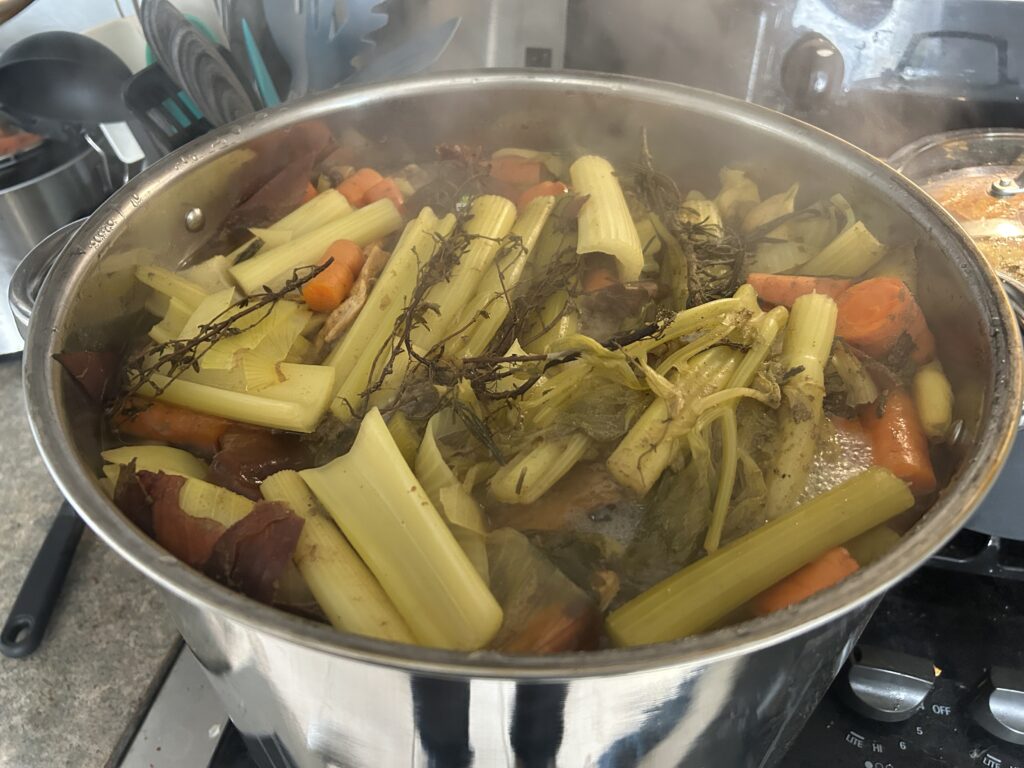
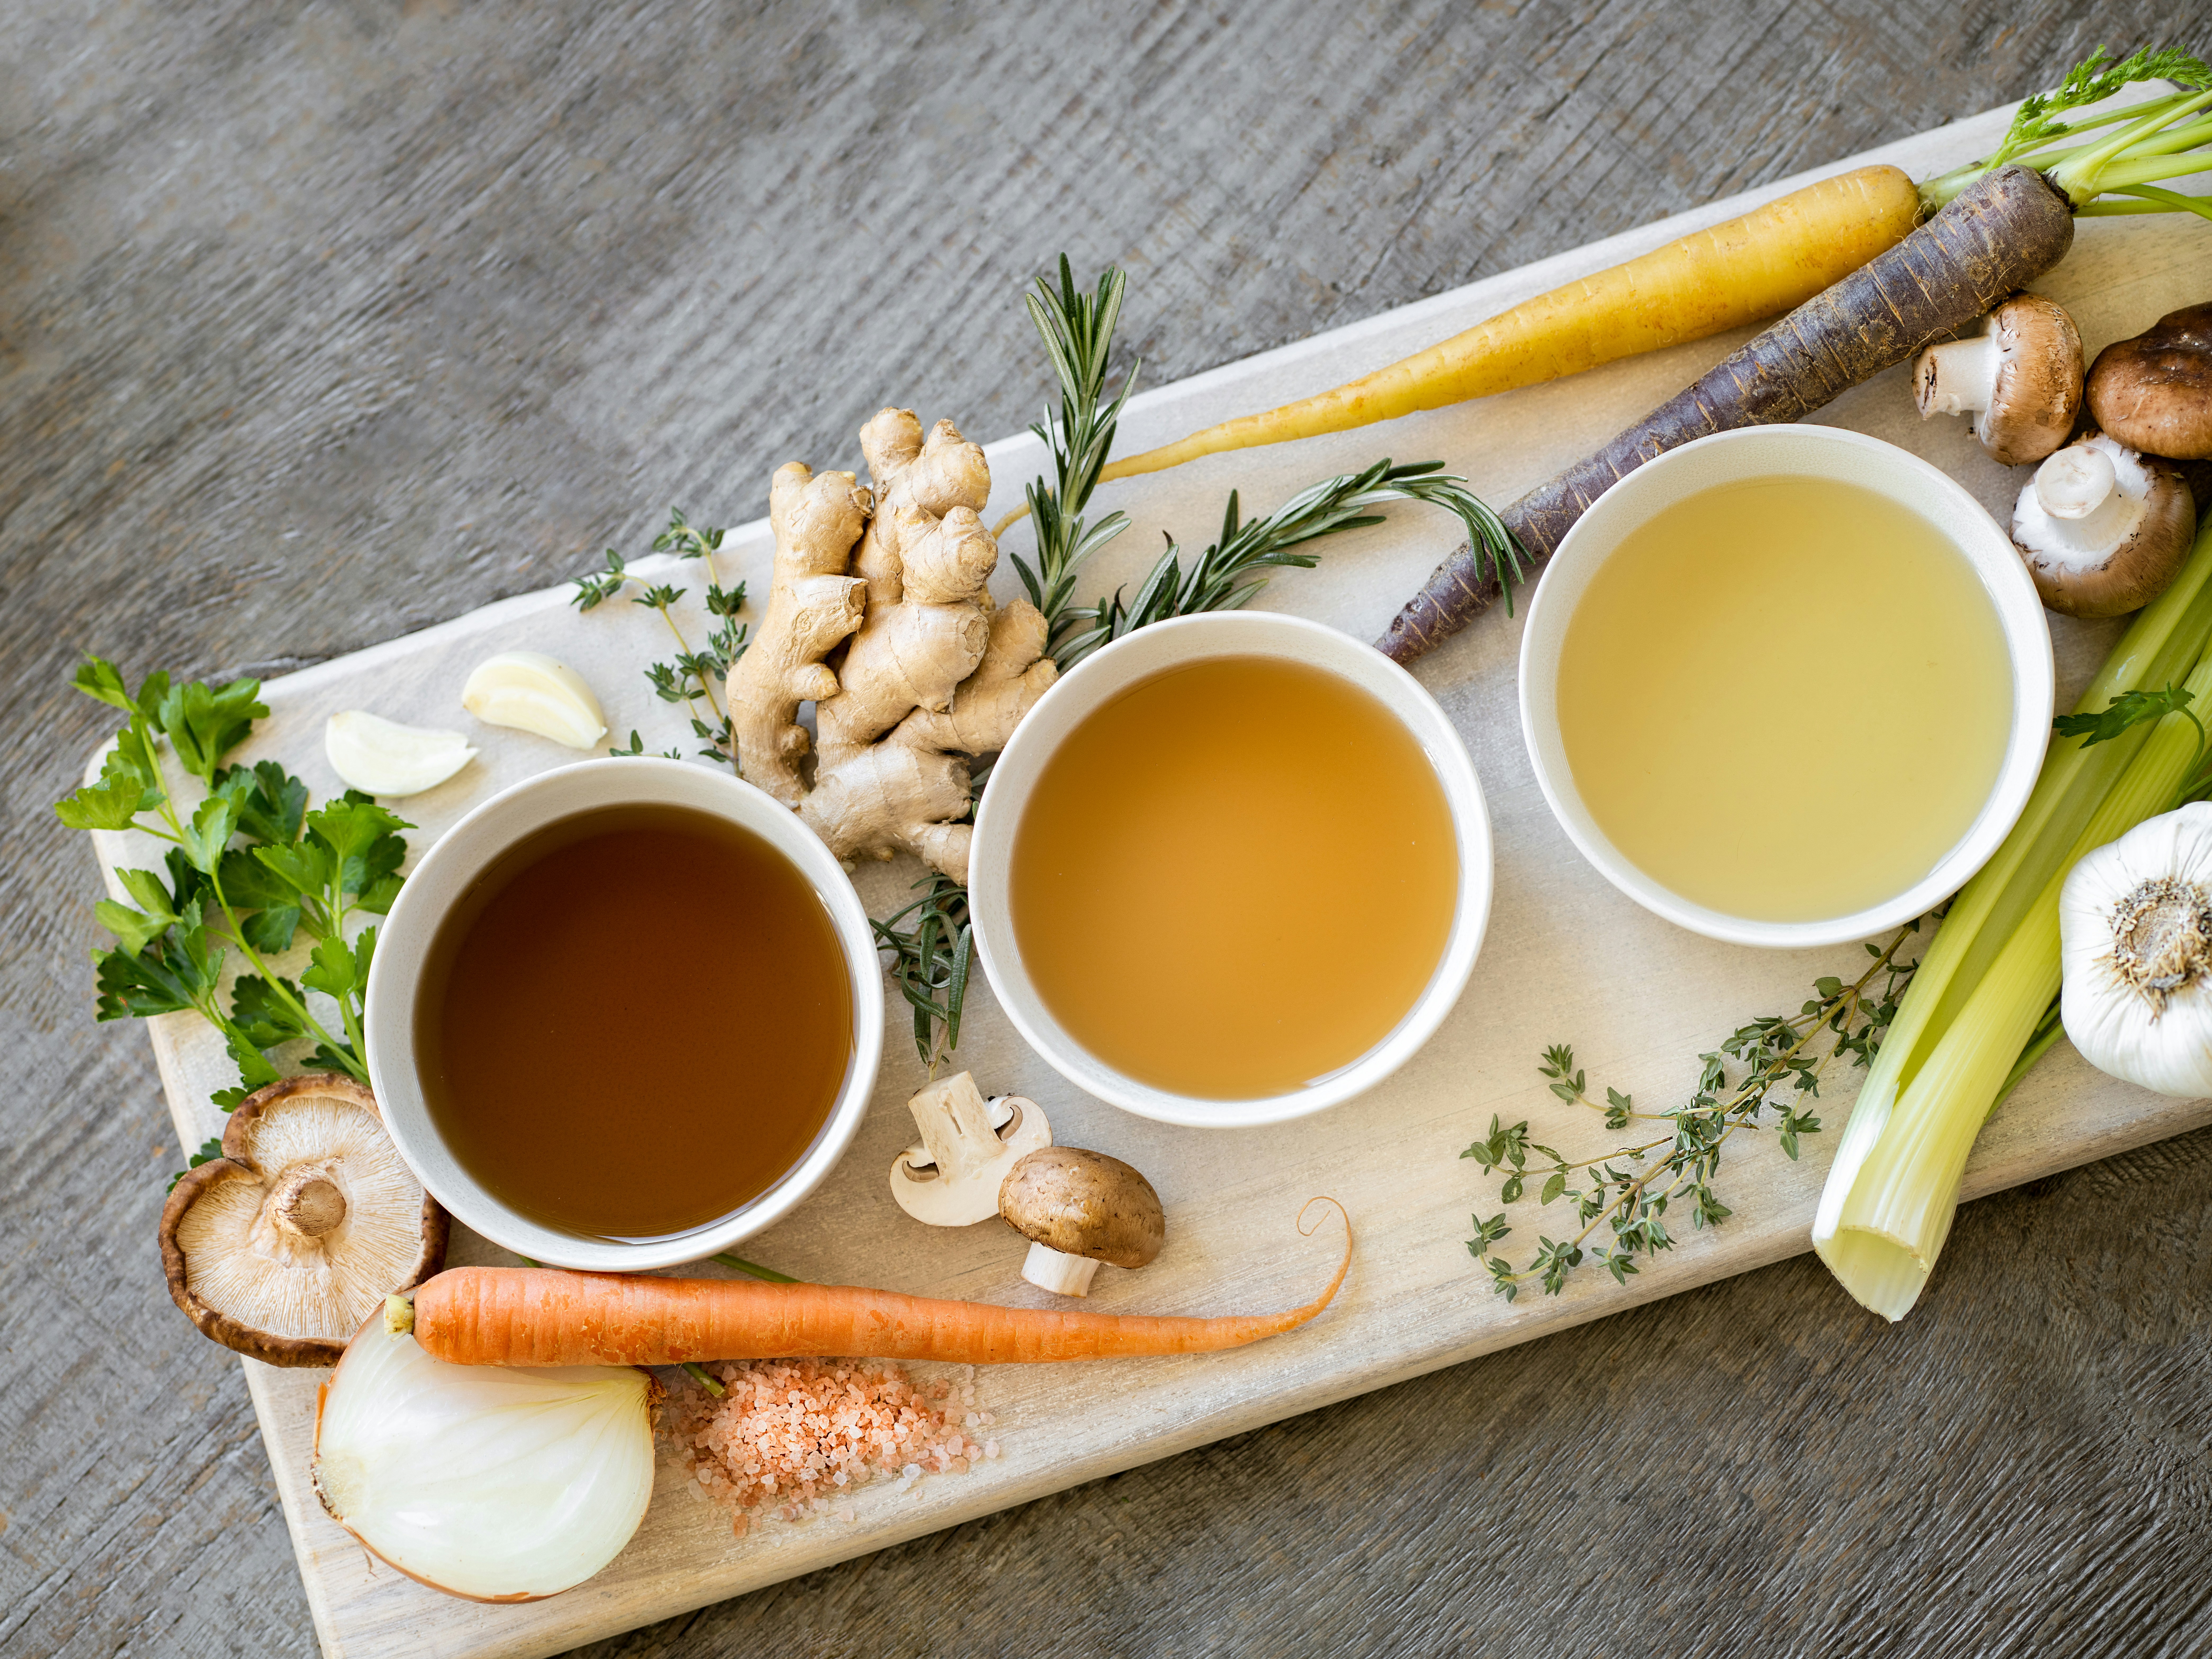
Hey there, fellow kitchen adventurers! Recently, I had the incredible opportunity to process some chickens that my friends raised and butchered. I saved all the bones and froze them, waiting for the perfect moment to make this chicken stock recipe. But let me tell you, this was quite the process! I definitely got ahead of myself and ended up having to refreeze 10 sets of bones because I didn’t have enough space. If you’ve ever wondered how to turn those leftover chicken bones into liquid gold, you’re in for a treat. Making chicken stock from scratch is not only super satisfying, but it also adds incredible flavor to all your favorite dishes. Whether you’re a busy bee or a culinary wizard, I’ve got two awesome methods for you: the oven and the trusty crock pot. Let’s dive into this flavorful journey together!
Why Go Homemade?
First off, let’s chat about why homemade chicken stock is a total game-changer. Store-bought stuff? Nah! Here’s why you should whip up your own:
- Flavor Explosion: Seriously, nothing beats that homemade goodness.
- No Mystery Ingredients: You control what goes in. Bye-bye, preservatives!
- Cost-Effective: Use those leftover bones and scraps, and save some bucks while you’re at it.
- Flex Your Creative Muscles: Experiment with flavors and ingredients. The kitchen is your playground!
Gather Your Ingredients
Before we get cooking, let’s round up everything you’ll need to create your own chicken stock:
- Chicken bones (the more, the merrier—carcasses, wings, legs, you name it)
- Veggies:
- 2 medium onions, quartered
- 2 carrots, chopped
- 2 celery stalks, chopped
- Herbs:
- 2-3 sprigs of fresh thyme (or 1 teaspoon dried)
- 2-3 sprigs of fresh parsley
- 2-3 bay leaves
- Garlic: 4-5 cloves, smashed (optional, but yum!)
- Turmeric: 1 teaspoon
- Peppercorns: 1 teaspoon (for a little kick)
- Salt: To taste (don’t go overboard if you plan to reduce later)
- Water: Enough to cover everything (about 4-6 quarts)
The Oven Method: Get Ready to Roast!
Ready to fire up that oven? Here’s how to make stock that will have your kitchen smelling like heaven:
Step-by-Step Fun
- Roast Those Bones: If you’ve got raw bones, toss them in a 400°F (200°C) oven for 30-40 minutes until they’re golden brown. This is where the magic begins!
- Mix It Up: Grab a big ol’ stockpot and throw in the roasted bones, veggies, herbs, garlic, and peppercorns. It’s like a flavor party in there!
- Water Works: Pour enough cold water to cover everything by about an inch.
- Bring the Heat: Set that pot on the stove over medium-high heat and let it come to a boil.
- Simmer Down: Once boiling, reduce the heat and let it simmer uncovered for 10-12 hours. Pro tip: skim off any foam that surfaces—nobody likes cloudy stock!
- Strain It Out: Once it’s done, strain the stock through a fine mesh strainer or cheesecloth into another pot or large bowl. Say goodbye to the solids!
- Cool and Store: Let it cool a bit before transferring to containers. Refrigerate for up to a week, freeze for later, or double your recipe then can it.
Oven Method Tips
- Flavor Boost: Splash a bit of vinegar in there while simmering to pull out those minerals from the bones. Your taste buds will thank you!
- Batch Size: This method is fantastic for making larger quantities—perfect for meal prep!

The Crock Pot Method: Set It and Forget It!
If you’re more of a “let’s make this easy” person, the crock pot is your best friend. Here’s how to do it:
Step-by-Step Chill Vibes
- Roasting Optional: Roasting the bones is optional here. If you want that deep flavor, go for it!
- Toss It In: Put all the bones, veggies, herbs, garlic, and peppercorns in your crock pot.
- Water Time: Cover the ingredients with water, leaving about an inch of headspace.
- Low and Slow: Cover and set your crock pot to low for 8-10 hours. Perfect for overnight cooking!
- Strain and Cool: When it’s all done, strain the stock like a pro.
- Store It Right: Cool it down and store in containers.
Crock Pot Method Tips
- Convenience Alert: This is the ultimate set-it-and-forget-it method! Great for busy days.
- Small Batches: Perfect for those times you just need a little stock without taking over your kitchen.
Canning Your Chicken Stock for Shelf Stability
Once you’ve got that liquid gold, you might want to can it for long-term storage. Let’s make sure your delicious stock is ready to stand the test of time!
What You’ll Need for Canning
- Pressure Canner (mandatory for low-acid foods like stock)
- Canning Jars (quart or pint-sized)
- Lids and Bands
- Jar Lifter (safety first!)
- Funnel (to make filling jars easier)
- Measuring Cup
- Dishcloth (to wipe those rims clean)
Canning Steps Made Simple
- Prep the Jars: Give your jars and lids a good wash in hot soapy water, then rinse.
- Heat the Stock: Bring your stock back to a gentle boil.
- Fill It Up: Use the funnel to pour hot stock into your jars, leaving about an inch of headspace.
- Get Rid of Air Bubbles: Use a spatula or chopstick to run along the inside of the jar to pop any air bubbles.
- Wipe Those Rims: Use a dishcloth to clean the rims of the jars to ensure a good seal.
- Seal It Up: Place the lids on and screw on the bands until they’re fingertip-tight.
- Pressure Canning Time: Place your jars in the pressure canner and follow its instructions for processing times (usually around 20-30 minutes for quarts at 10-15 psi).
- Cool and Check: Let the jars cool completely. Make sure the lids are sealed properly (they shouldn’t pop back when pressed). Store them somewhere cool and dark.
Time to Get Cooking!
And there you have it! Making chicken stock is not only a fun kitchen project but also a fantastic way to elevate your meals. Whether you opt for the oven or the crock pot, you’ll end up with a rich, flavorful stock that’s ready for anything from soups to sauces.
Now it’s your turn! Go grab those leftover bones, channel your inner kitchen wizard, and start experimenting. Don’t forget to share your stock-making adventures or any cool twists you try. Happy cooking, and may your kitchen be filled with delicious aromas! 🍲✨
Previous Post
Next Post
Keep Reading
blog home
SEARCH
What do you want to learn today?
trending searches
living mindfully
self care
recipes
toxin free
minimalism
DIY

+ Show / Hide Comments
Share to: